Hi
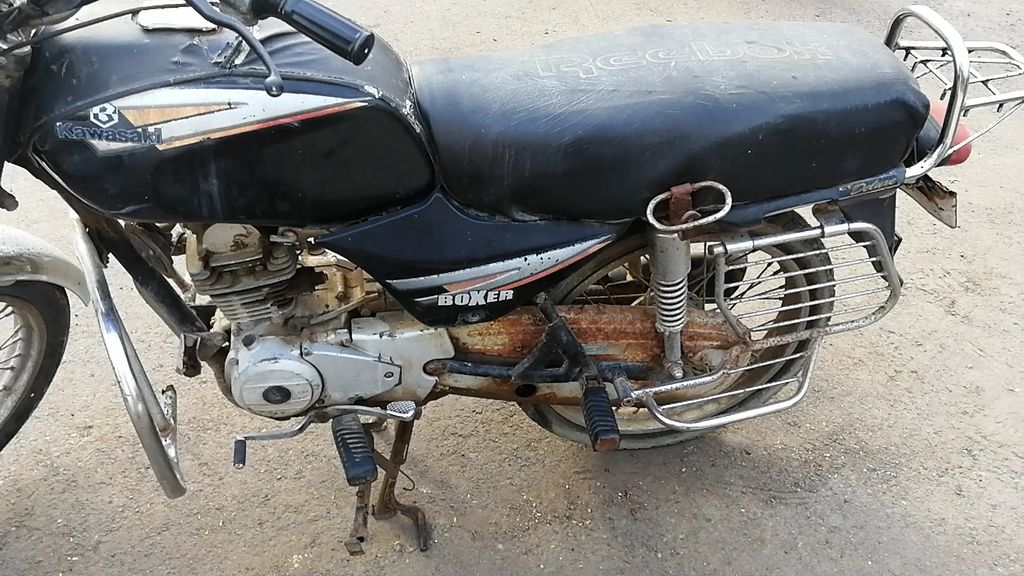
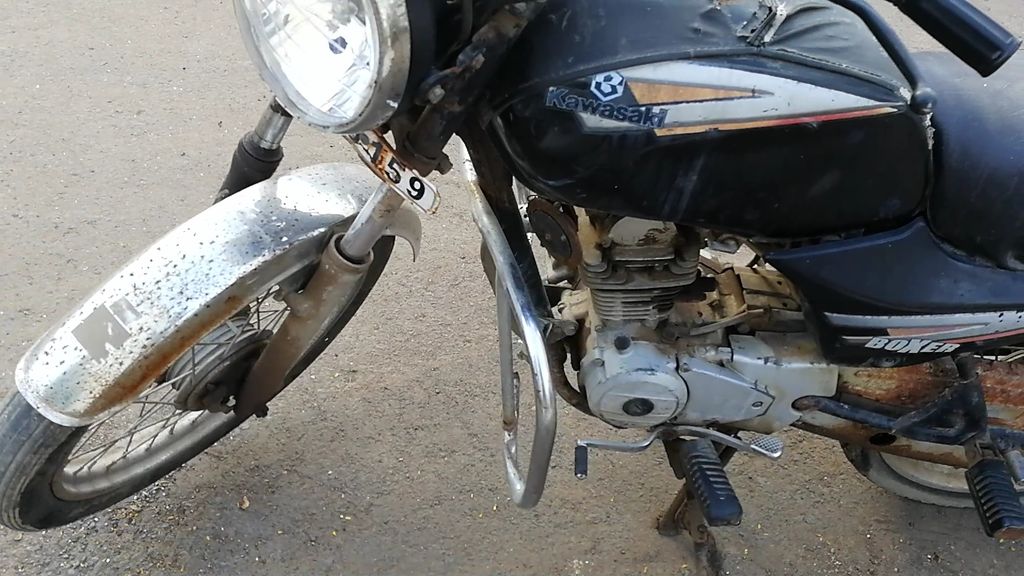
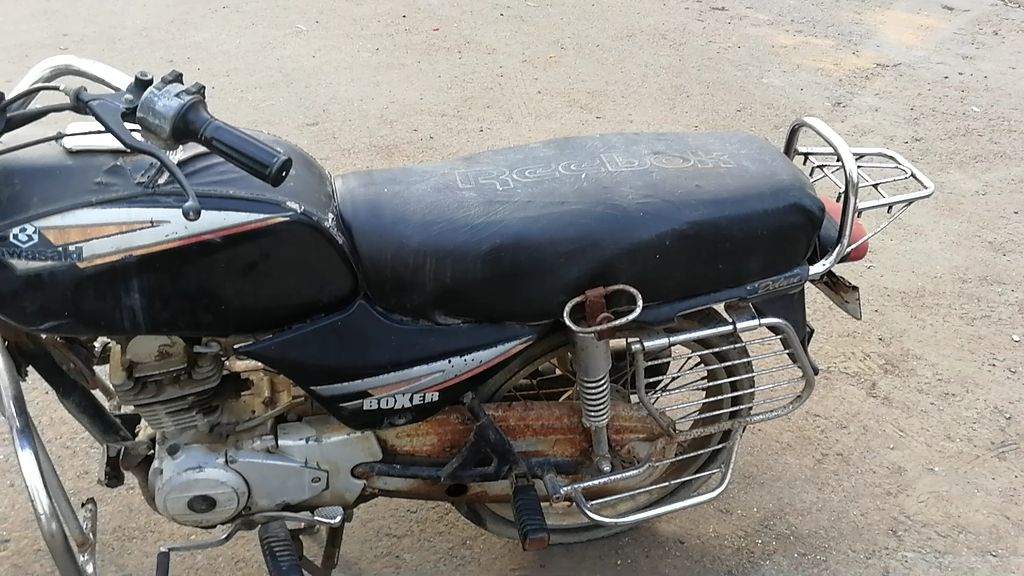
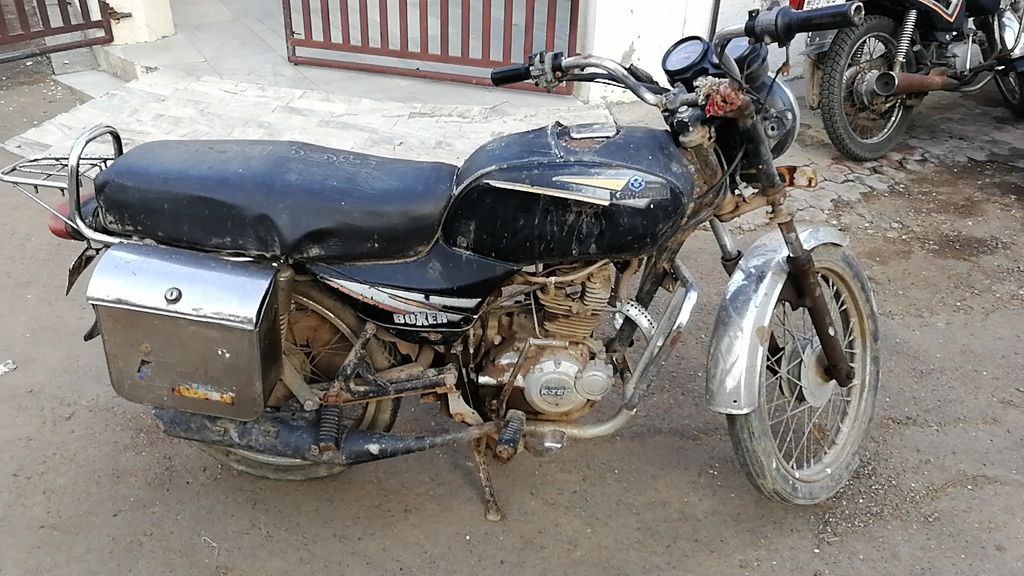
This is a project very close to my heart and this is a second iteration of the Bajaj Boxer, one of the popular bikes in the commuter segment in India made by Bajaj Auto. I got a very old and rusty scrap bike totally in nonworking condition. As you can see from the pictures below of before and after. The pictures of the old bike itself reveal the rusty and miserable shape it was in. This bike was totally worked upon and converted to a geared electric bike. This is the second bike that I have made. The first bike was a bit raw in shape and refinement.
I have kept the same concept of using the old bike's gearbox and converted it to a geared electric bike. I have used the original bike's gearbox but have replaced the original crankshaft with a customized one. I hope you guys will enjoy this article.
Step 1: Preparing Old Bike for Battery Tray and Electric Conversion
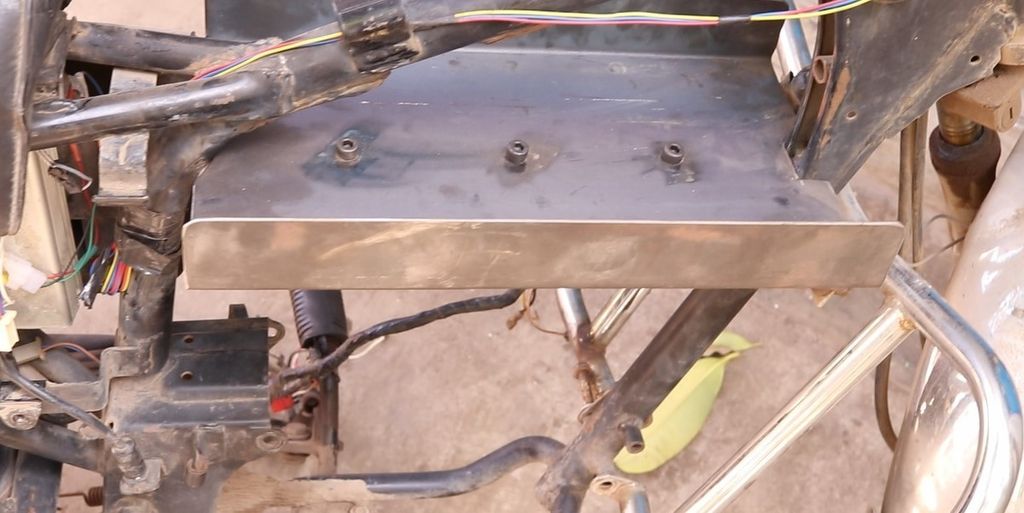
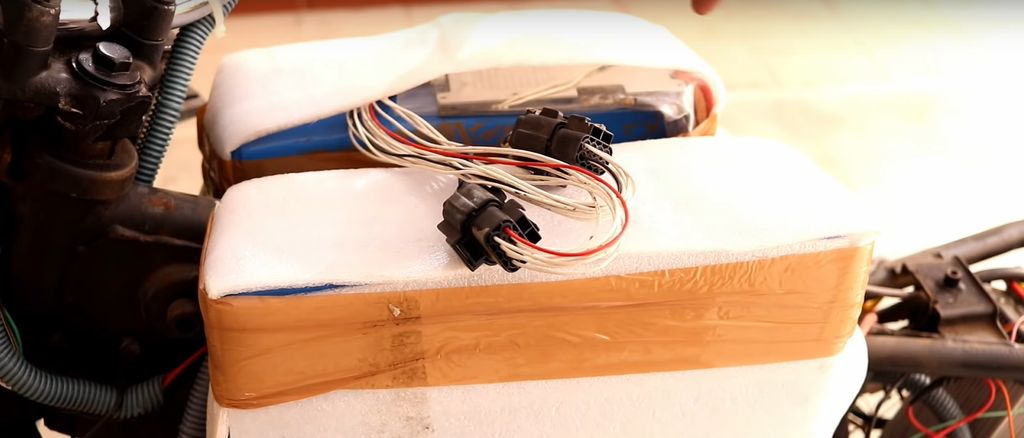
Old scrap bike gas tank was removed and a metal tray was fixed at its place. this will hold the new battery pack made with two parts of configuration 6s15p. The battery pack was split into two parts as the chassis pipe is passing in between the holding tray for the battery pack. You can also see the LifepO4 battery pack in two parts with all the balance wires taken out form the battery pack. The BMS was attached outside of the battery pack and the rest of the wiring from BMS and battery wires were connected. Finally, the XT90 connector was connected as a power output.
Step 2: Assembling the Electric Power Train With Old Gearbox
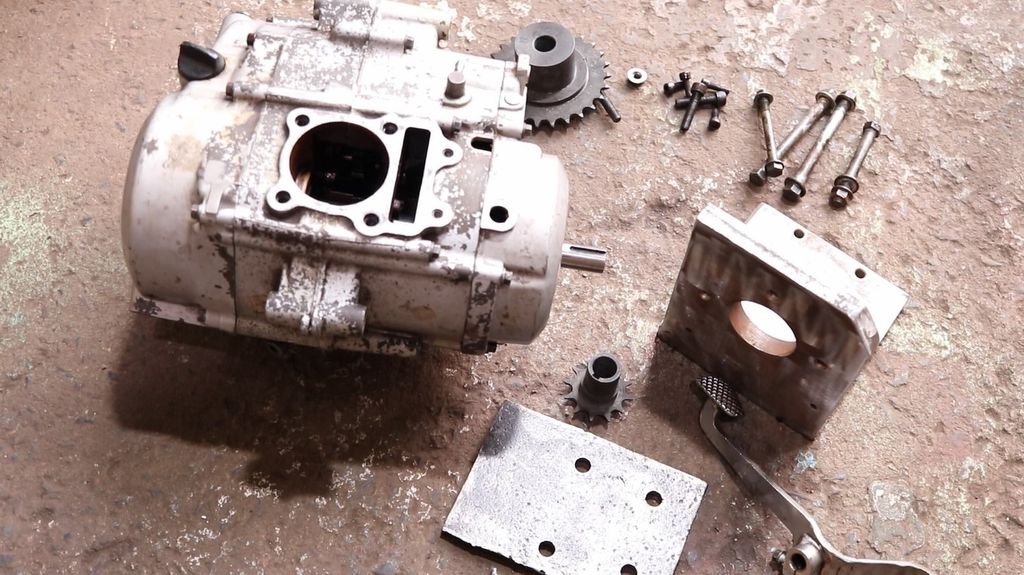
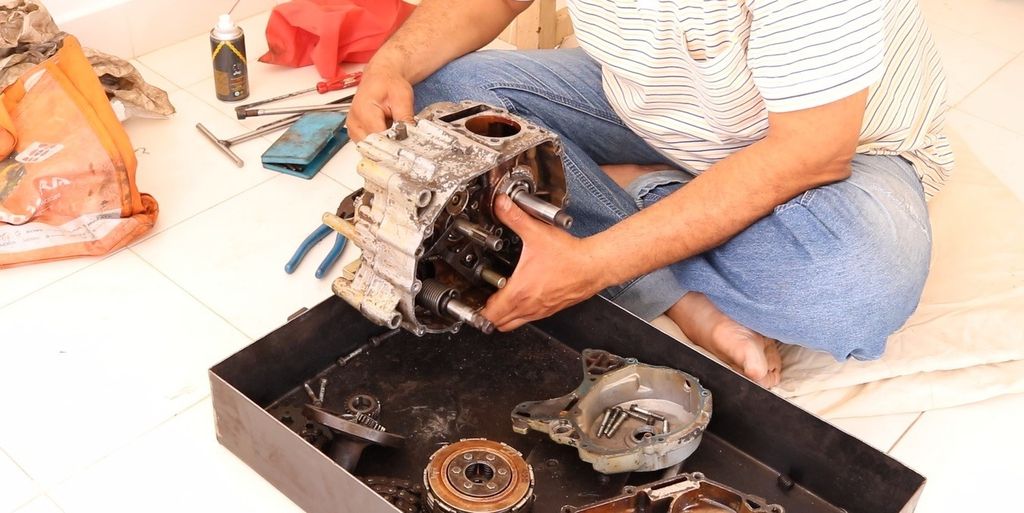
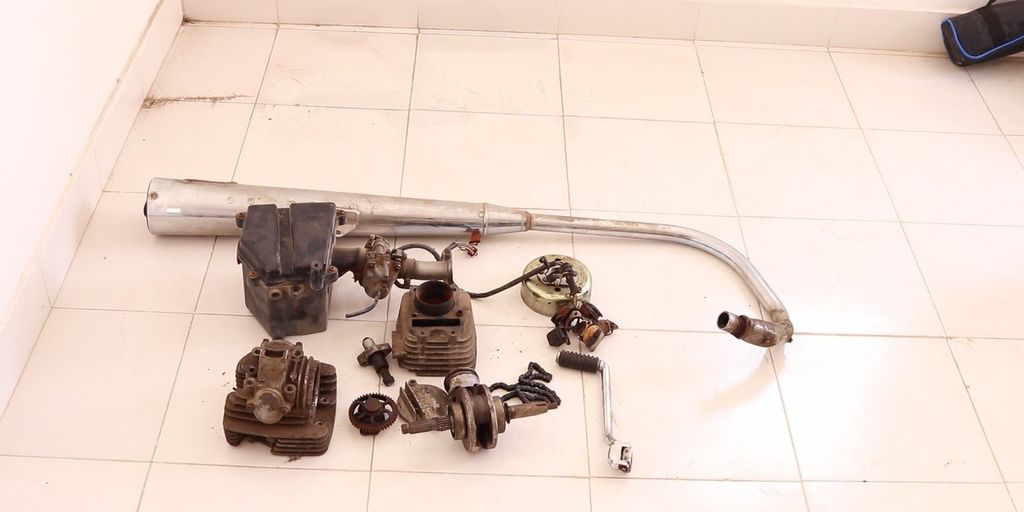
Above seen are some of the parts that were removed and are not required like silencer air filter original crankshaft magneto etc. Custom Gearbox is then assembled with a custom crankshaft that goes in as primary drive shaft and it goes inside to the gearbox. finally, the gearbox gives output at the trans axel which then drives the final wheel. No modifications were done in the final drive wheel sprocket. Also, you can see some of the parts that were used in the IC engine were removed saving some weight.
Step 3: Installation of Gearbox and Motor on the Bike
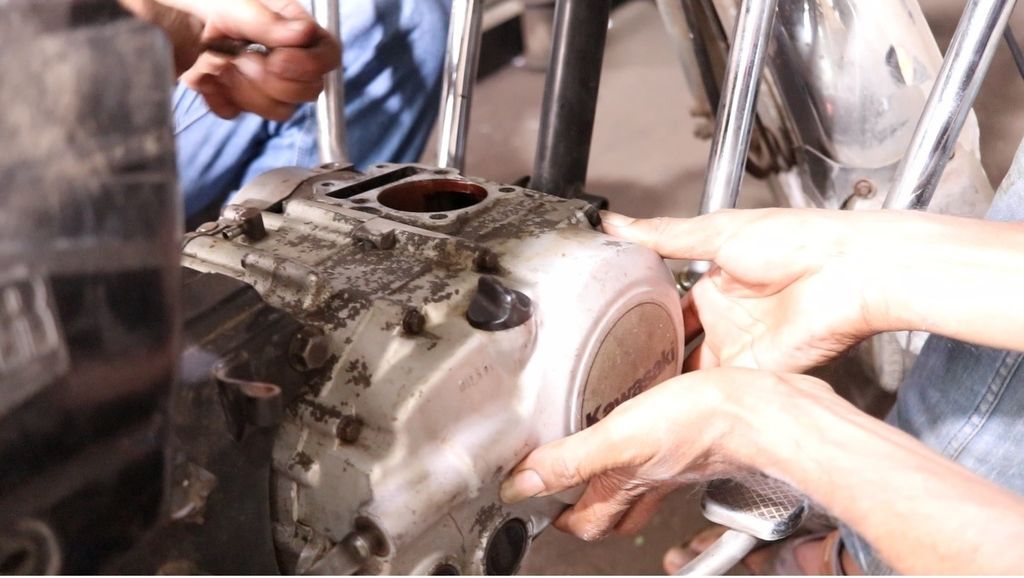
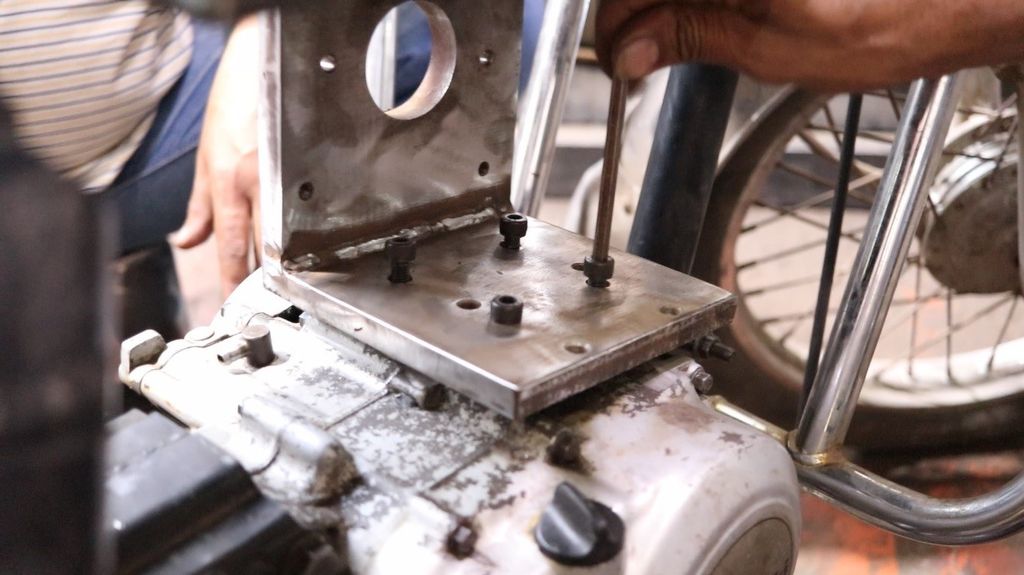
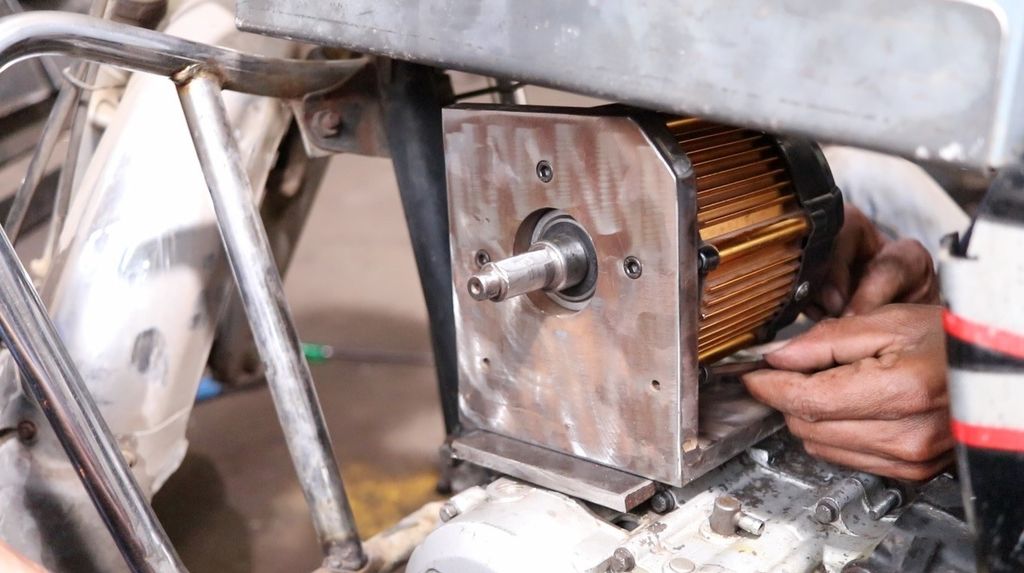
Finally, the gearbox is installed on the bike chassis. L plate made of iron was then installed on the gearbox where the original block piston and valve head assembly was there. According to the requirement, the holes were made in the base of the L plate that will house the motor on a perpendicular face. You can have a look at the pictures above to get a better idea.
Step 4: Installation of Primary Drive Pulleys and Electronics
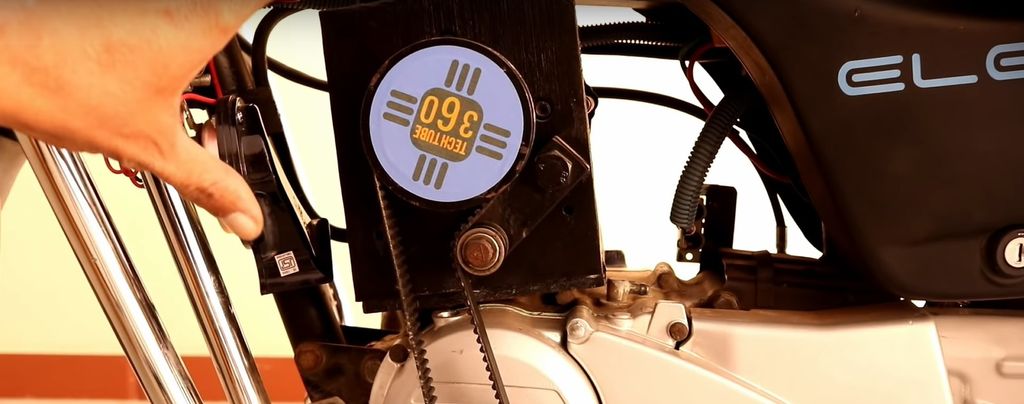
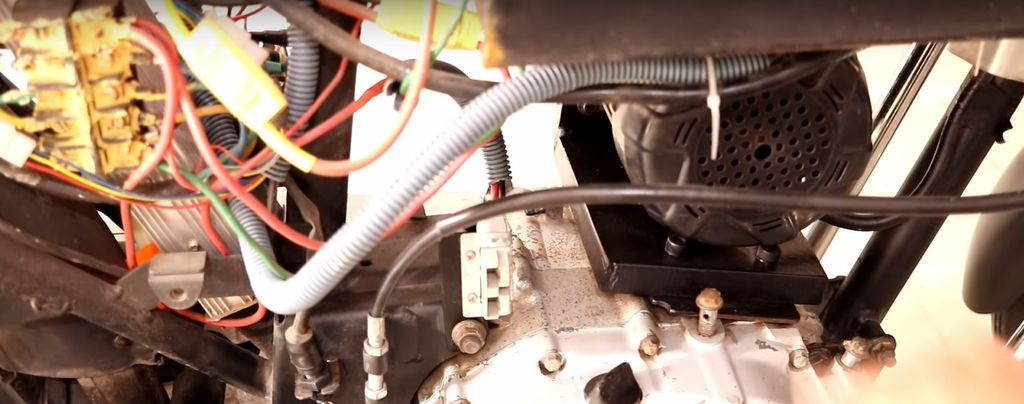
I have installed the pulley and belt drive as a primary drive system. This will drive the custom driveshaft going inside the gearbox which will drive the clutch and through trans axel, the power will be transmitted to the rear wheel. As seen in the above pictures the electronics like converter and motor controller were installed inside of the bike chassis where the air filter assembly was there. Also, you can see the charging socket installed on the gearbox side popping out. Also, you can see the battery packs mounted on the platform that was used to carry the battery pack in two halves.
Step 5: Display for Battery Capacity
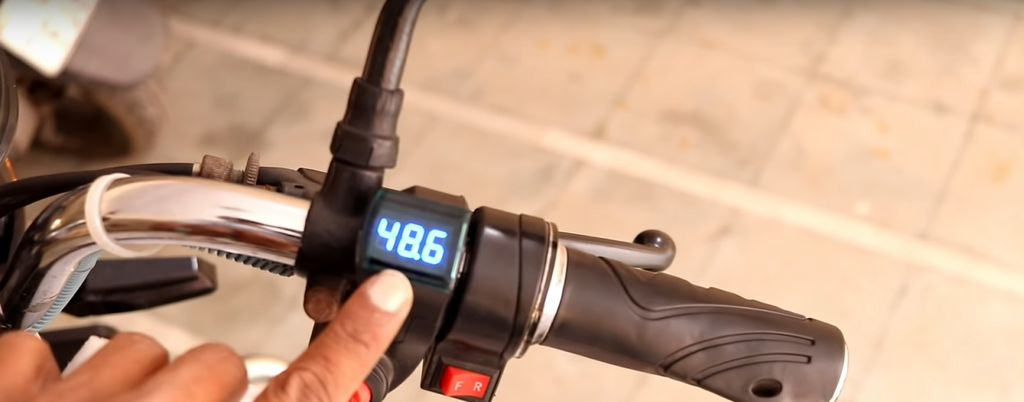
I have used a simple digital display to show the battery voltage so that I can see how much charge is remaining. All the rest things like speedometer and light and horn switches are kept original. The display unit also houses the three-position switch that will offer three different power modes of the like economy, city, and sports. The three-position switch is wired to the controller.
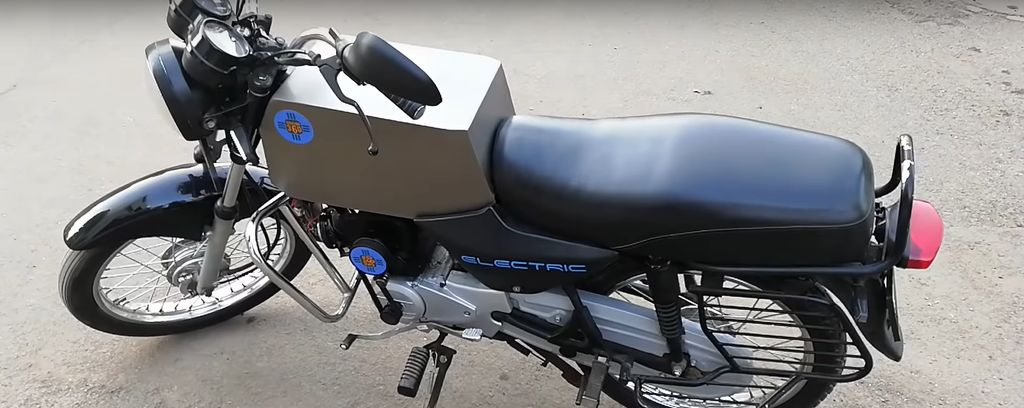
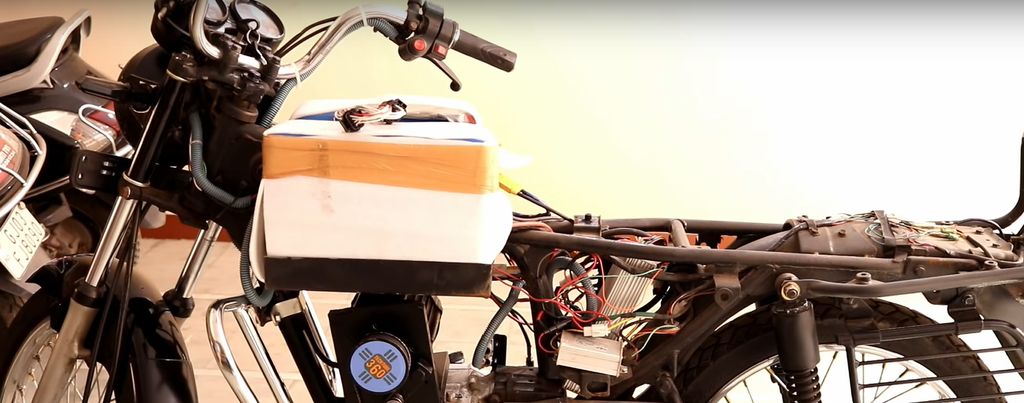
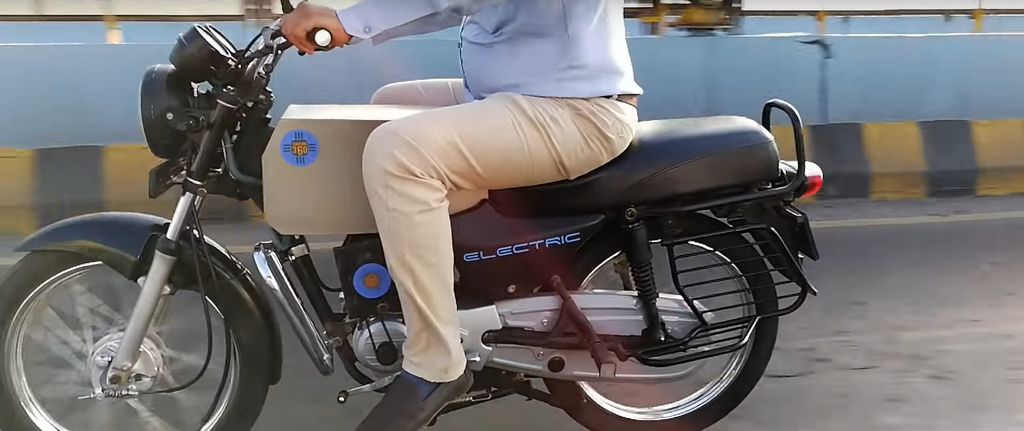
Step 6: Custom Tank and Looks of Finished Bike From the Scrap like Cyber Bike
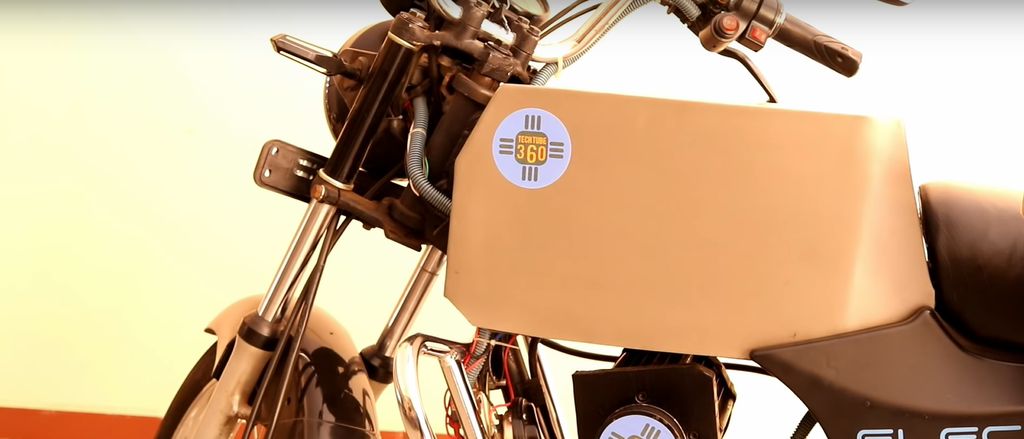
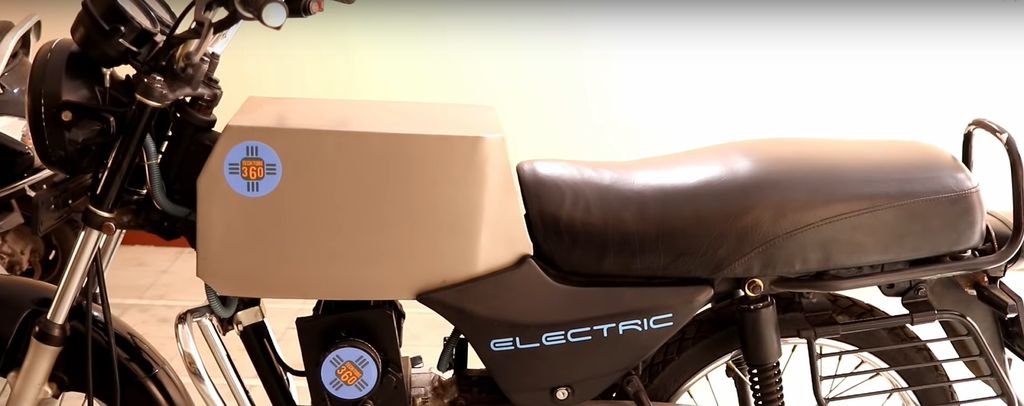
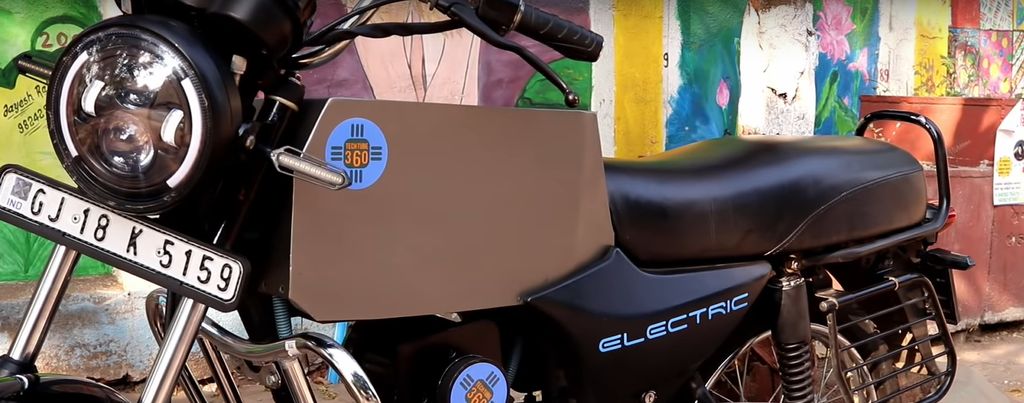
I made a custom tank that will cover the battery pack and made it waterproof as well. As you can see from the above pictures the completed bike. I have tried to give a modern retro look with some sort of futuristic design. The design is not inspired by Tesla's Cyber truck as this bike was made before the launch of Cyber truck. Still, I say its Cyber Electric Bike. I want to hear from you guys that how does the bike look like and what do you say about the color scheme in the e-bike.
Step 7: Performance and Let's Take it for a Spin
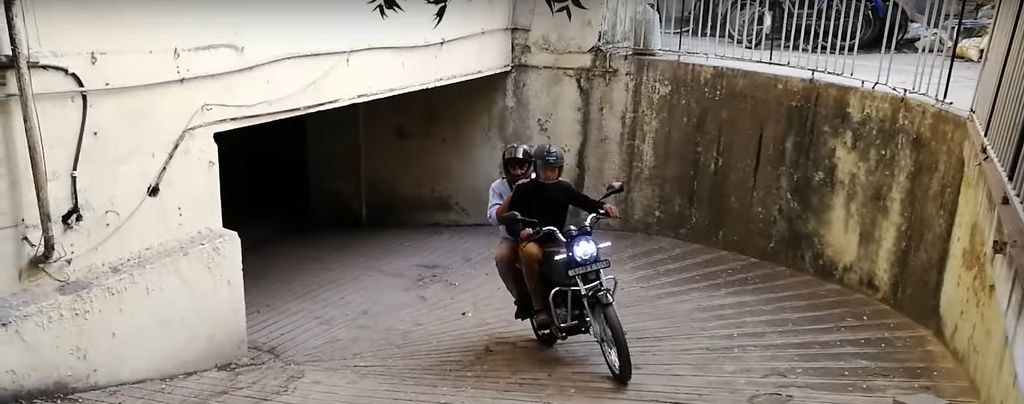
With a gearbox, this is bike can pull a lot of weight. As seen in picture I and my friend in doubles are easily climbing up the slope more than 35 degrees. You can also see the stills of the in motion. for further action, you can surely watch the entire video of the bike performance. I have been using this bike since I made it in August 2019 and not a single time the bike disappointed me.
The bike has decent pickup and power. It can travel a distance of 65 km per charge and I have given DC fast charging that can charge the bike from empty to full in just 2 hours flat. So what do you think of this bike? do let me know your thoughts in the comment section. thanks for reading it till the last.
I hope that you guys loved this DIY electric Cyber Bike Blog. Thanks once again...


3 Comments
Hay tech tube i am arun from bangalore i would like to go with conversion of the bike from hero honda petrol bike to eclectric bike.
ReplyDeleteHow can one get in contact with the team that did this conversion?
ReplyDeleteI want phone number
ReplyDelete